
F8BET⚡️Thương Hiệu F8BET.COM Link Đăng Ký Chính Thức
F8BET được phát triển theo định hướng vận hành dài hạn, tập trung vào hiệu suất hệ thống, độ minh bạch trong giao dịch và trải nghiệm thực tế của người dùng. Thay vì phụ thuộc vào các chiến dịch quảng bá ngắn hạn, nền tảng chú trọng nâng cấp công nghệ, tối ưu tốc độ xử lý và hoàn thiện chất lượng dịch vụ nhằm xây dựng môi trường giải trí trực tuyến an toàn cho người chơi Việt Nam.
Không chỉ sở hữu hạ tầng vận hành ổn định, F8BET còn tối ưu mọi thao tác sử dụng để mang lại trải nghiệm thuận tiện cho cả người mới lẫn bet thủ lâu năm.
🎨 Giao Diện F8BET – Hiện Đại, Mượt Mà Và Dễ Tiếp Cận
Ngay từ lần đầu truy cập, F8BET tạo ấn tượng nhờ thiết kế trực quan và khả năng vận hành linh hoạt:
- Bố cục khoa học, dễ tìm kiếm sảnh game
- Đăng ký tài khoản và đặt cược chỉ với vài bước
- Tốc độ tải nhanh, hạn chế giật lag
- Hoạt động ổn định trên PC, Android và iOS
Toàn bộ quy trình từ xác minh tài khoản, giao dịch đến quản lý lịch sử cược đều được tinh giản nhằm tiết kiệm thời gian và nâng cao trải nghiệm người dùng.
🎁 Khuyến Mãi F8BET – Minh Bạch, Dễ Sử Dụng
F8BET triển khai hệ thống ưu đãi theo hướng rõ ràng và thực tế:
- 🎉 Tặng 68.000 VNĐ cho thành viên mới sau khi đăng ký thành công
- 💰 Thưởng 100% nạp đầu với hạn mức linh hoạt
- 🔄 Hoàn trả mỗi ngày từ 1.0% – 1.6% cho nhiều danh mục cược
- 🎯 Nhiều sự kiện định kỳ và vòng quay nhận thưởng tiền mặt
Điều kiện tham gia được công khai minh bạch, giúp người chơi chủ động quản lý ngân sách và tối ưu lợi ích lâu dài.
🎮 Hệ Sinh Thái Trò Chơi F8BET – Đa Dạng Và Ổn Định
F8BET phát triển kho trò chơi phong phú, tập trung vào các danh mục được người chơi Việt yêu thích:
⚽ Cá Cược Thể Thao
- Tỷ lệ kèo cập nhật liên tục
- Hỗ trợ nhiều giải đấu quốc tế
- Đầy đủ kèo châu Á, châu Âu và tài xỉu
🎲 Casino Trực Tuyến
- Baccarat, Roulette, Sicbo, Blackjack
- Dealer thật, livestream HD sắc nét
- Tương tác trực tiếp mượt mà
🎰 Slot Game – Nổ Hũ
- Hàng trăm chủ đề hấp dẫn
- Jackpot giá trị lớn
- Tối ưu hiệu suất trên thiết bị di động
🐟 Bắn Cá Đổi Thưởng
- Đồ họa 3D sinh động
- Thao tác đơn giản, giải trí nhanh
🎴 Mini Game & Game Truyền Thống
- Tài xỉu, xóc đĩa, lô đề, tiến lên
- Mini game linh hoạt, phù hợp giải trí ngắn
Hệ thống được tối ưu tải nhằm duy trì sự ổn định ngay cả trong khung giờ cao điểm.
🔐 Bảo Mật F8BET – An Toàn Và Ổn Định
F8BET áp dụng công nghệ mã hóa SSL 256-bit để bảo vệ dữ liệu cá nhân và giao dịch tài chính của người dùng.
- Quy trình xác minh rõ ràng
- Kiểm soát giao dịch nhanh nhưng chặt chẽ
- Hỗ trợ khách hàng 24/7 phản hồi kịp thời
Nền tảng cân bằng hiệu quả giữa tính bảo mật và sự thuận tiện trong quá trình sử dụng.
💳 Nạp – Rút Tiền F8BET Nhanh Và Minh Bạch
F8BET hỗ trợ đa dạng phương thức thanh toán phổ biến tại Việt Nam:
- Nạp tiền xử lý gần như tức thì
- Rút tiền tốc độ nhanh, ổn định
- Trạng thái giao dịch hiển thị rõ ràng
- Chủ động theo dõi và quản lý dòng tiền
Hệ thống giao dịch tự động hóa giúp hạn chế sai sót và nâng cao trải nghiệm thanh toán cho người dùng.
📊 So Sánh F8BET Với Các Nền Tảng Cùng Phân Khúc
| Tiêu chí | F8BET | HI88 | RR88 | AE888 |
| Định hướng | Ổn định – dài hạn | Ưu đãi mạnh | Lâu năm | Quốc tế |
| Tân thủ | 88K + 100% nạp đầu | 68K + hoàn trả | Thưởng nạp | VIP |
| Hoàn trả TB | 1.0% – 1.6% | 1.0% – 1.5% | 0.8% – 1.2% | 1.0% – 1.3% |
| Thế mạnh | Casino, Slot, Thể thao | Casino, Slot | Thể thao | Thể thao |
| Phù hợp | Người chơi Việt | Người mới | Kinh nghiệm | Quốc tế |
✅ Ưu Điểm & Hạn Chế F8BET
Ưu điểm
- Giao diện hiện đại, thao tác nhanh
- Chính sách thưởng rõ ràng
- Hoàn trả ổn định mỗi ngày
- Giao dịch nhanh và minh bạch
- Đội ngũ hỗ trợ 24/7 chuyên nghiệp
Hạn chế
- eSports chưa phải mảng trọng tâm
- VIP chưa có quá nhiều đặc quyền cao cấp
📌 Đánh Giá Tổng Quan
F8BET hướng đến mô hình phát triển bền vững với trọng tâm là hiệu suất hệ thống, độ ổn định và trải nghiệm người dùng thực tế. Với hệ sinh thái trò chơi đa dạng, công nghệ vận hành hiện đại cùng chính sách ưu đãi minh bạch, F8BET là lựa chọn phù hợp cho người chơi đang tìm kiếm nền tảng cá cược trực tuyến an toàn và chuyên nghiệp trong giai đoạn 2025 – 2026.
👉 Truy cập F8BET tại: https://apileofgrains.nl/
Đăng ký tài khoản ngay hôm nay để nhận ưu đãi tân thủ và trải nghiệm môi trường giải trí trực tuyến hiện đại, ổn định.
tin tức mới nhất

Soi Cầu Miền Bắc F8BET – Khám Phá Mẹo Chiến Lược
Soi cầu miền Bắc lâu nay được xem là một trong những phương pháp dự...

Soi Kèo Phạt Góc – Mở Khóa Lợi Nhuận Từ Mọi Tình Huống Bóng Đá
Soi kèo phạt góc đang trở thành “mỏ vàng” mà bất kỳ anh em cá...
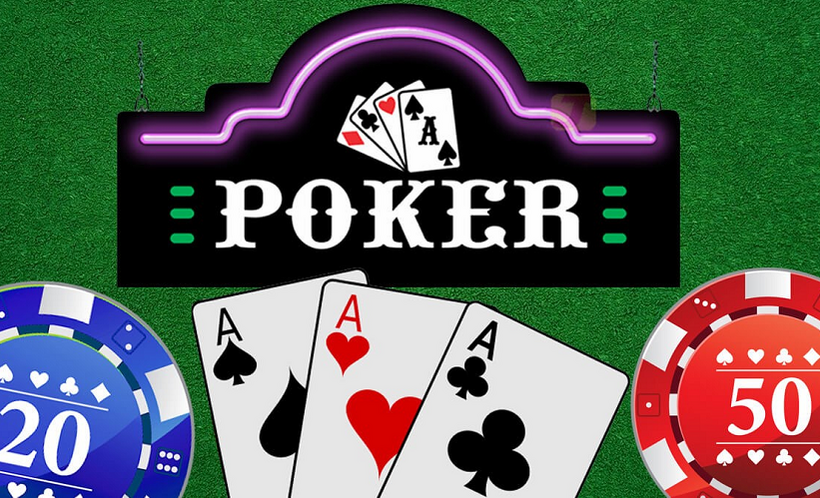
Poker F8bet – Bí Quyết Thắng Lớn Từ Game Bài Chiến Thuật
Poker F8BET đang thống trị làng game bài trực tuyến nhờ sự kết hợp hoàn...
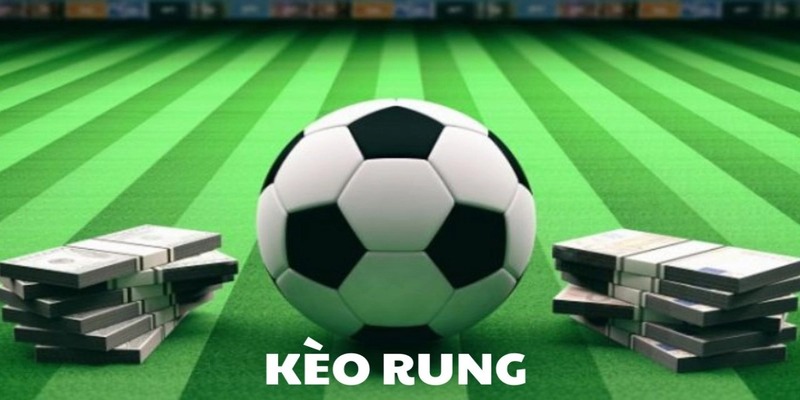
Kèo Rung F8BET – Cơ Hội Đảo Ngược Tình Thế Khi Bóng Còn Lăn
Kèo rung hiện đang là hình thức cá cược bóng đá trực tuyến được nhiều...
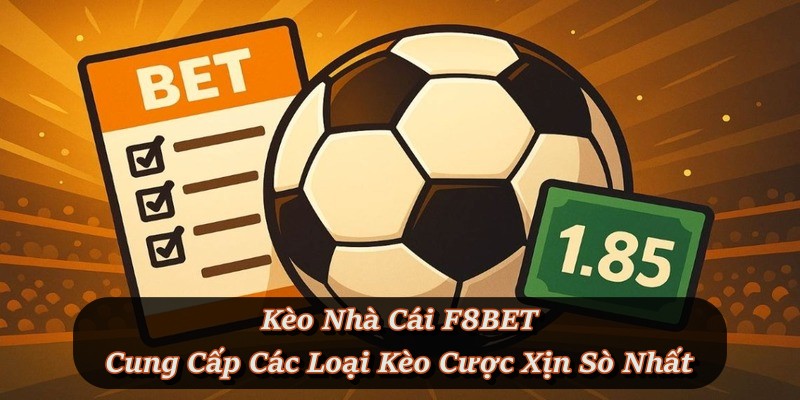
Kèo Nhà Cái F8BET – Cung Cấp Các Loại Kèo Cược Xịn Sò Nhất
Kèo nhà cái tại F8BET luôn tạo nên sức hút khó cưỡng, vừa mới mẻ...

Kèo Bóng Đá F8BET – Cách Nhà Cái Tạo Ra Sân Chơi Cho Cược Thủ
Kèo bóng đá tại Thể thao F8BET là sân chơi lý tưởng để thử vận...


